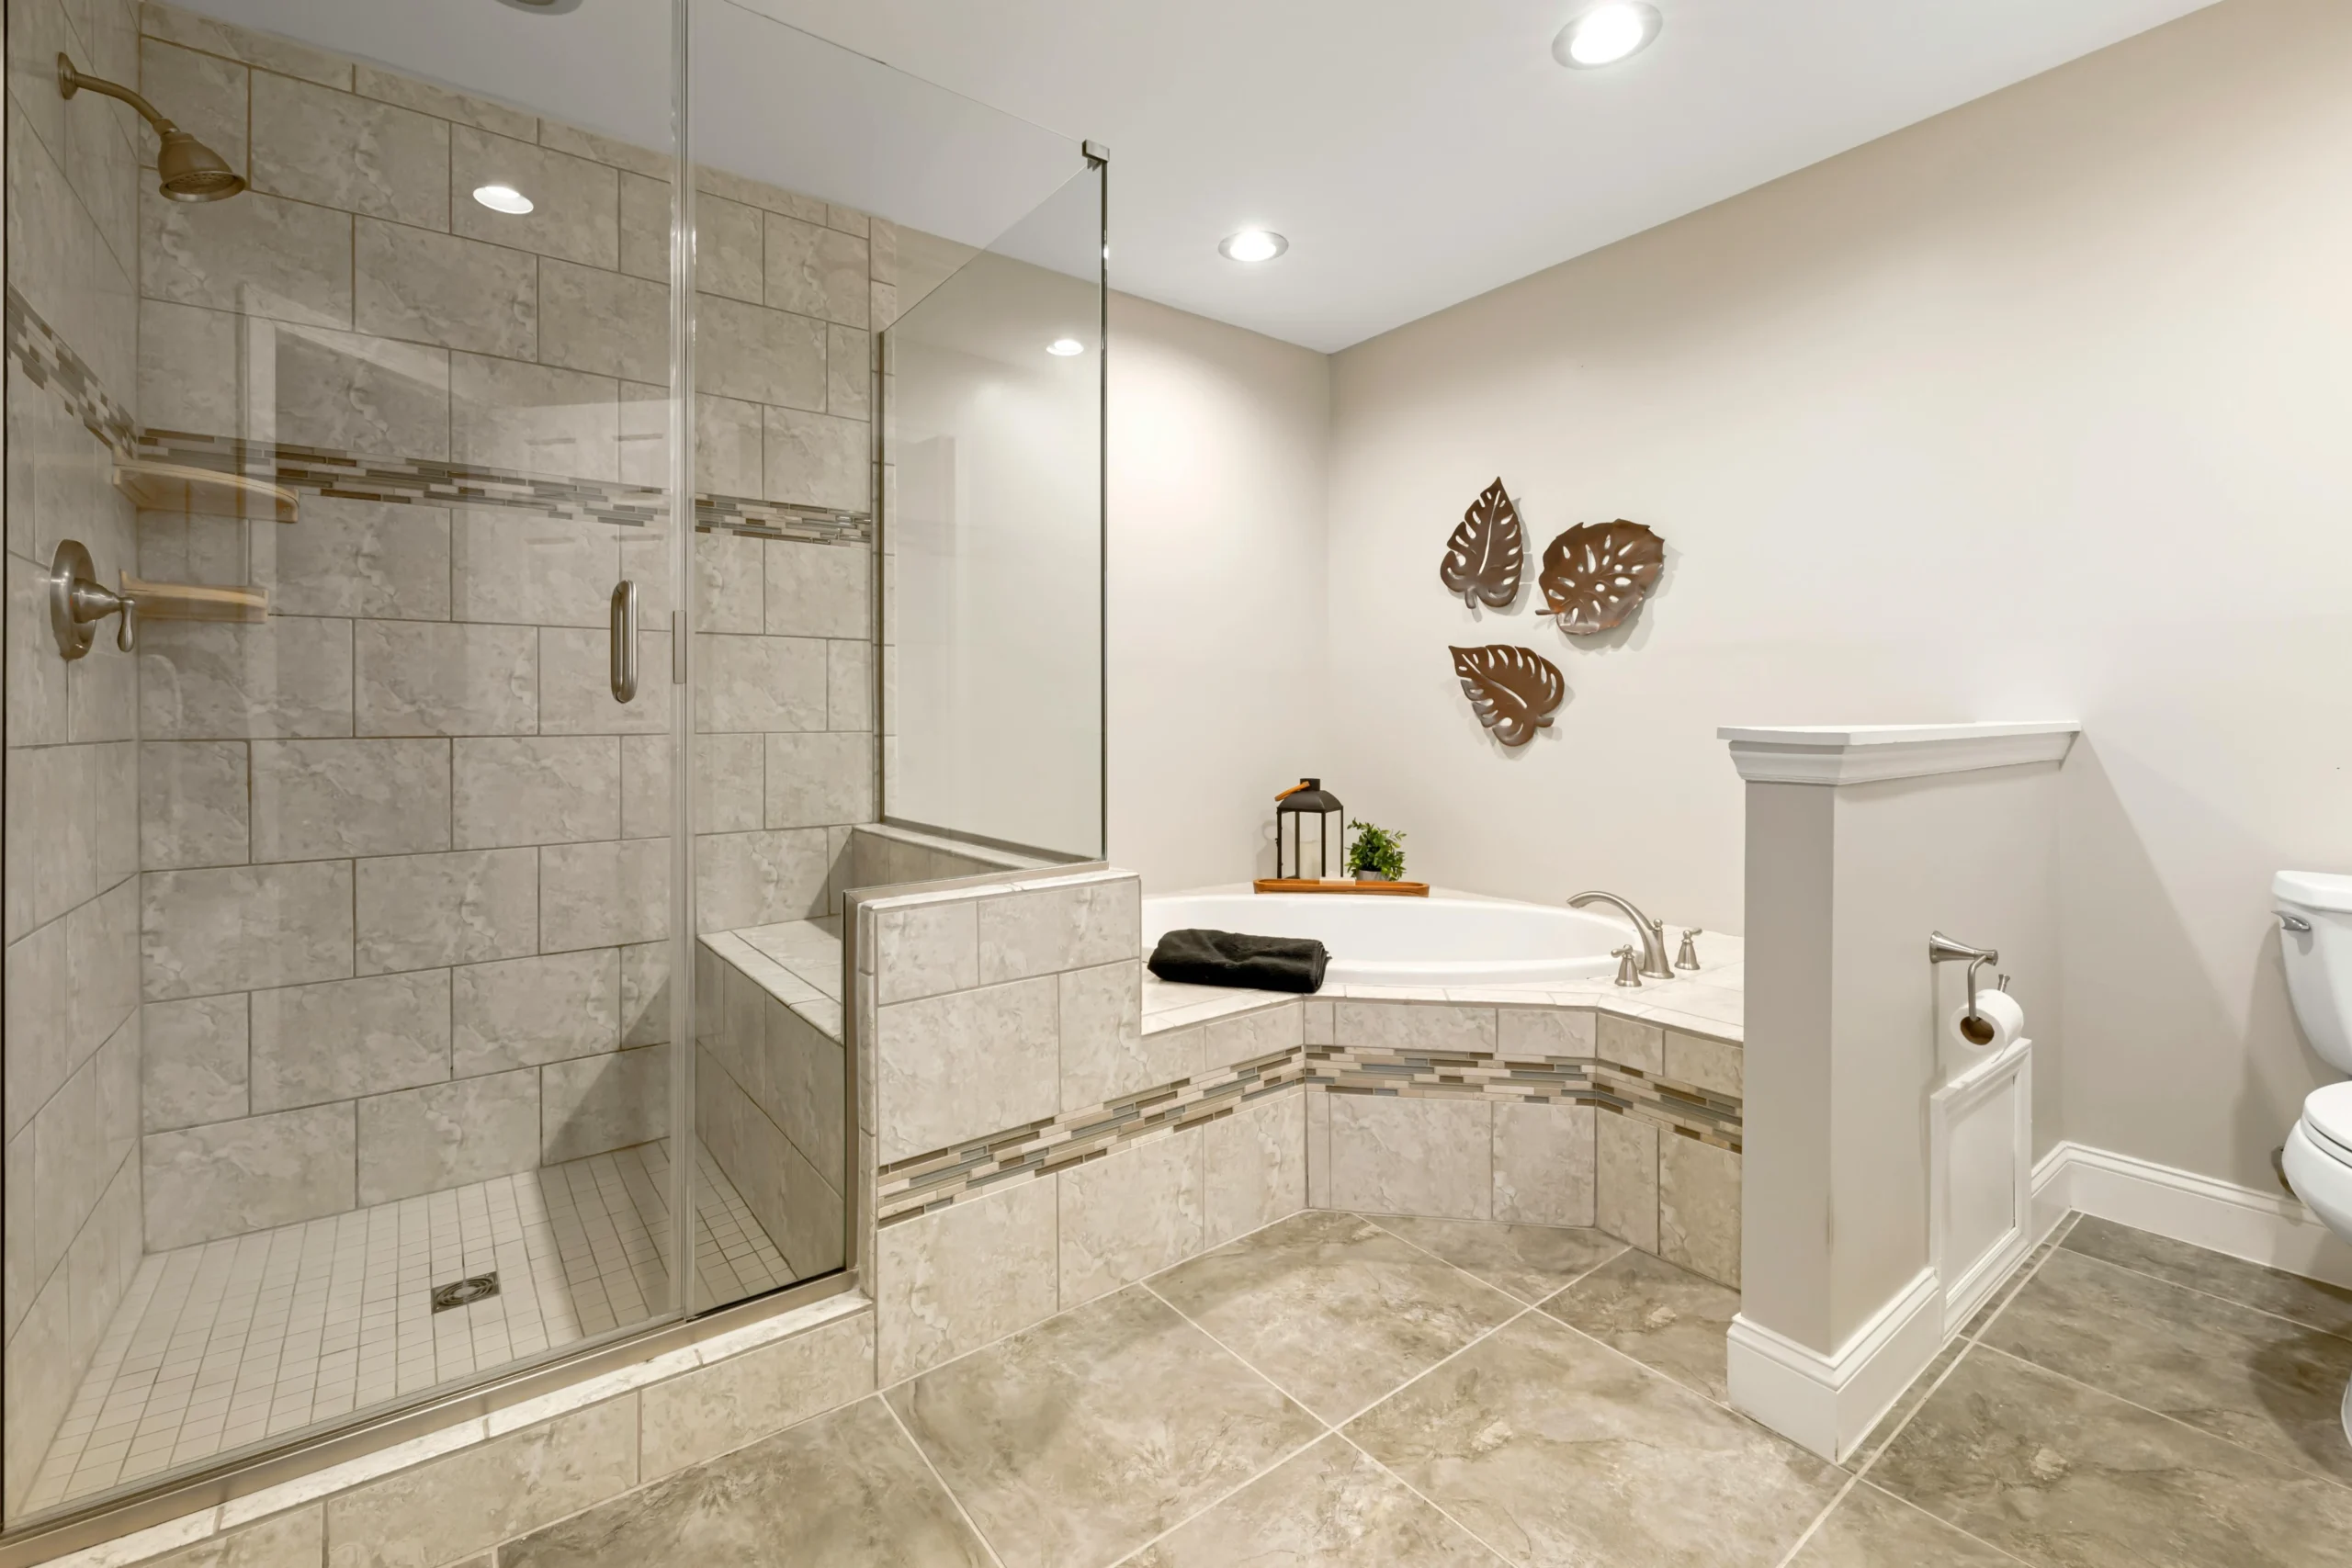
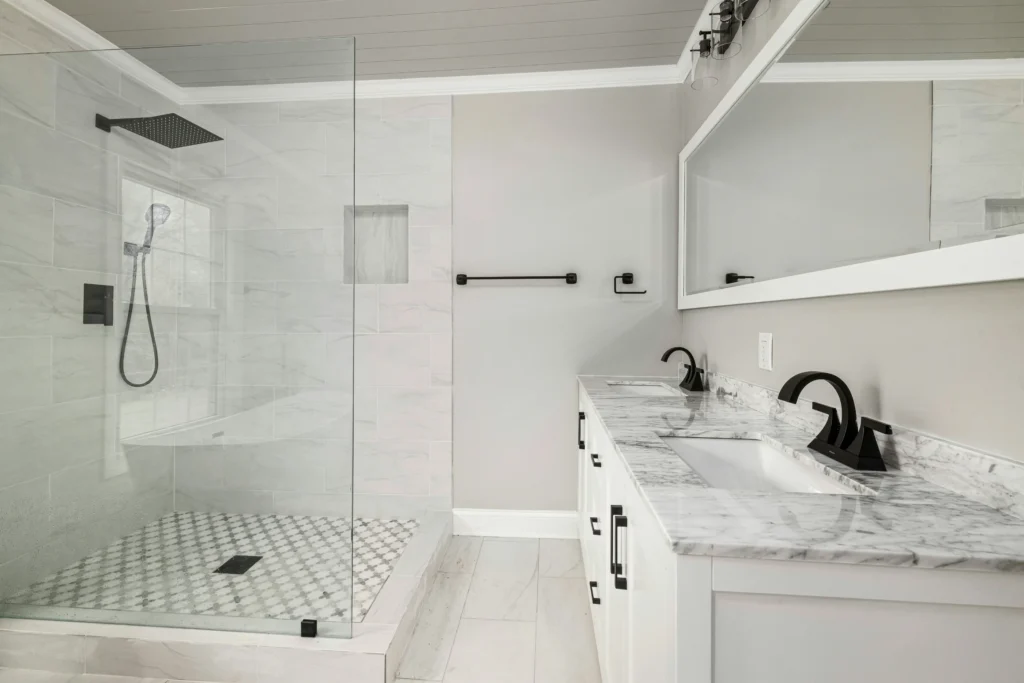
A cracked or loose tile in the bathroom can feel like a small problem—until you start wondering what’s happening behind the wall. Learning how to fix bathroom tiles properly can save hundreds of dollars, prevent water damage, and give you confidence that the repair is more than cosmetic. While professionals often charge $250–$450 for small tile repairs in 2026, many common tile issues are well within reach for a careful DIY approach when the structure underneath is sound.
That said, not every tile problem should be tackled alone. Knowing when to proceed and when to stop is just as important as knowing how to swing a hammer. This guide walks you through how to assess the problem, perform a safe and durable repair, and recognise when expert help—such as from RJG Group—is the smarter option.
How to Fix Bathroom Tiles: Decide If DIY Is Safe or Risky
Before touching tools, take a moment to assess what the tile is telling you. Tiles rarely fail on their own—movement, moisture, or substrate damage is often involved.
How to Fix Bathroom Tiles: The 60-Second Structural Check
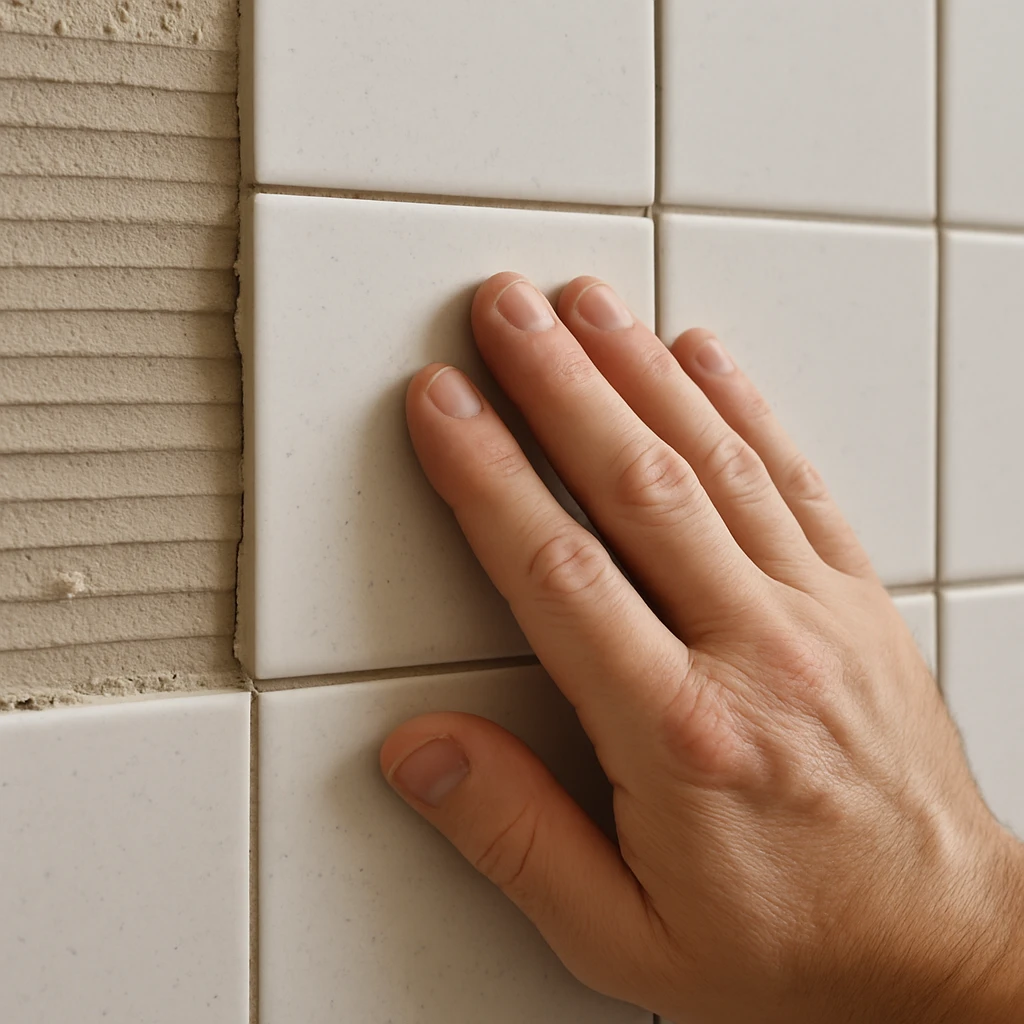
Press gently but firmly on the surrounding tiles and wall surface. A solid wall with a single cracked or hollow-sounding tile usually indicates a surface-level issue. However, if the wall feels soft, spongy, or flexes under pressure, this points to water damage behind the tiles.
Use this quick decision checklist:
-
Soft or spongy wall? Stop immediately
-
Multiple loose tiles clustered together? Stop
-
Persistent musty smell? Stop
These signs indicate moisture intrusion that requires professional assessment. In these cases, experienced repair specialists like RJG Group can identify whether re-tiling, waterproofing repairs, or further remediation is required.
How to Fix Bathroom Tiles: When DIY Makes Sense
DIY tile repair is appropriate when:
-
Only one to three tiles are affected
-
The wall substrate is firm and dry
-
No mould or water damage is visible
When these conditions are met, you can proceed confidently.
How to Fix Bathroom Tiles: Industry Standards Matter
Professionals who follow recognised best practices—such as those aligned with the master builders association—work within strict material and installation standards. DIYers should aim to replicate these standards as closely as possible using correct materials and preparation.
How to Fix Bathroom Tiles: Tools, Materials, and Preparation
Proper preparation separates long-lasting repairs from temporary fixes. Using the right tools also prevents damage to surrounding tiles.
How to Fix Bathroom Tiles: Essential Tools You’ll Need
Prepare the following:
-
Safety glasses and gloves
-
Grout saw
-
Hammer and nail set (or old screwdriver)
-
Putty knife
-
Small notched trowel
-
Rubber grout float
-
Sponge and bucket
Each tool has a purpose. The grout saw isolates the damaged tile, while the notched trowel ensures even adhesive coverage—critical for durability.
How to Fix Bathroom Tiles: Choosing the Right Adhesive
Always use cement-based thin-set mortar in bathrooms. Thin-set cures chemically into a waterproof, rigid bond. Avoid premixed mastics in wet areas—they can soften over time and cause tiles to fail again.
How to Fix Bathroom Tiles: Matching Tile and Grout Correctly
If possible, use spare tiles from the original installation. For grout, remove a small hardened sample and match it precisely at the store. Colour accuracy is key to an invisible repair.
How to Fix Bathroom Tiles: Step-by-Step Repair Process
Once prepared, follow each step carefully. Rushing is the most common cause of failed DIY tile repairs.
Removing the Damaged Tile Safely
-
Use the grout saw to remove grout around all four sides of the tile
-
Break the tile gently from the centre using a nail set
-
Pry pieces out slowly, working inward to outward
-
Scrape off old adhesive until the surface is flat and clean
A smooth substrate ensures proper bonding.
Setting the New Tile Correctly
Mix thin-set to a thick, peanut-butter consistency. Apply adhesive to the back of the tile (“back-buttering”) for full coverage. Press the tile into place with a slight twist, ensuring it sits flush with surrounding tiles.
Allow at least 24 hours for curing—no touching, no testing.
Re-Grouting and Sealing
Apply grout at a 45-degree angle using a rubber float, pressing firmly into joints. After a light haze forms, wipe diagonally with a damp sponge.
Once cured (24–72 hours), apply grout sealer to protect against moisture and staining. This final step dramatically extends the life of the repair.

Why Professional Help Still Has Value
Even confident DIYers benefit from professional insight. RJG Group is often called in to fix failed DIY repairs caused by improper adhesives, skipped curing times, or water damage missed during assessment.
Knowing your limits protects both your bathroom and your budget.
A Small Repair That Makes a Big Difference
Fixing a cracked or loose bathroom tile isn’t just about appearance—it’s about protecting your home from water damage and preserving the integrity of your bathroom. With the right approach, tools, and patience, many repairs can be completed successfully over a weekend.
If you encounter warning signs or prefer expert assurance, professional help is always the safer route.
Need Expert Advice or Repairs?
Whether you’re unsure about a tile issue or want the job handled with precision, experienced professionals can help.

Contact us at RJG Group to discuss your bathroom tile repair needs and get guidance tailored to your space.


 Defining Modern Excellence with Integrity


